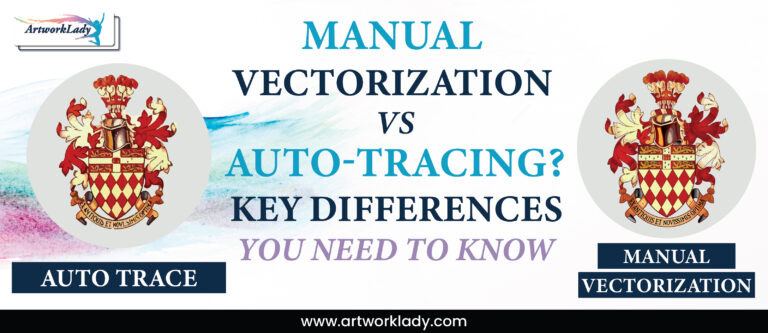
The demand for high-quality graphics is going to be in continuous demand in this digital world. Be it branding, marketing, or even simple personal projects, vector graphics become increasingly inescapable due to its inherent main advantages of scalability and versatility. Do you know how a raster image can turn into a vector format? Such a guide will take through the steps involved in vectorizing services and even the benefits that can be achieved in professional services like ArtWorkLady.
Why Convert Images to Vectors?
- Scalability: Because vector images retain their resolution irrespective of the size, it is one of the perfect things to use in business cards, billboards, and so on.
- Editability: Vectors have pieces that are easy to handle, making the file more custom.
- File Size: Smaller raster files generally translate to faster loading times as well as fewer storage needs. There is also this perception that using vector graphics makes a brand’s materials look professional.
Steps to Convert Image to Vector
1. Choose Correct Software: There are many software for vectorization available on the web, both free and paid. There are:
- Adobe Illustrator: Top vector graphics software providing user with more advanced tools for image tracing.
- Inkscape: Free and Open-source vector graphics editor allowing one to utilize quite exhaustive range of features.
- CorelDRAW: Famous designing software which offers effective tools for vectorization.
2. Prepare the Image
Before you start the process, make sure that the raster image you choose has a resolution great enough to result in the best output. The more defined your raster, the more precise your resulting vector will be. It is best to use those with sharp or crisp shapes and strong contrasting colors.
3. Import Your Image
Open the software that you will use to vectorize and import your raster image. In most software, you will find “File,” then click “Import” or “Open.”
4. Touch-up Vector
After the tracing, clean up the vector image. This includes:
- Remove redundant paths: This is the removal of extra points or paths that do not enhance your vector image.
- Changing color fills and strokes: Change color fills and strokes to a suitable color that fits the needs of your design.
- Smoothing edge tools: Smooth curves, edges, in your vector.
5. Save Your Vector Image
When you are satisfied with the final result of vectorization, save your file as a vector. Common formats
- SVG (Scalable Vector Graphics): Perfect for the web.
- AI (Adobe Illustrator): The native file format of Adobe Illustrator.
- EPS (Encapsulated PostScript): Highly universal for printing purposes. Can be opened with a number of applications.
Professional Vectorizing Services
There’s absolutely nothing holding you back from vectorizing it yourself, but professional vectorizing services have some pros.
- Quality: Professionals know exactly what they are doing and have all the essentials to deal with this task.
- Save Time: You’re freeing up this time and are then able to focus on some other important parts of your project.
- Advanced Techniques: Expert services incorporate more advanced techniques for image embedding, especially those that require more than mere manual handling.
ArtWorkLady offers vectorizing services to each customer’s order. Our experts ensure that the images you entrust us with are converted to high-quality vectors meeting industrial standards.
With the possibility of converting an image to a vector, you are making it more useful and the graphics more professional. Be it that you do it yourself, or you hire professionals to vectorize for you, you’re tapping into an enormous source of power within yourself, hence much better outputs in your design projects. With the right tools and techniques, you can create beautiful vector images that will make your branding or personal projects stand tall.
Learn more about ArtWorkLady’s services in vectorizing today!


